Search
Search
1419 results were found.
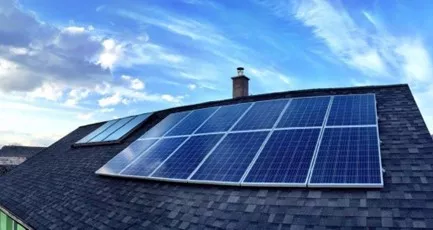
Renovating your old roof or building a new roof in combination with solar panels? IKO roof shingles can easily be combined with solar panels. Choose the right fit for your home thanks to our A4 samples!
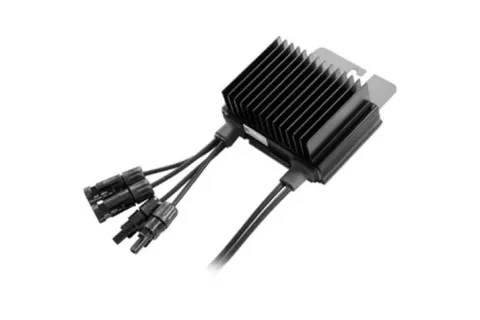
Performance optimizers
This kind of optimizer is a very useful accessory for every photovoltaic panel. Thanks to them, the photovoltaic power plant can produce up to 25% more energy and at the same time help to maximize the performance of each panel.
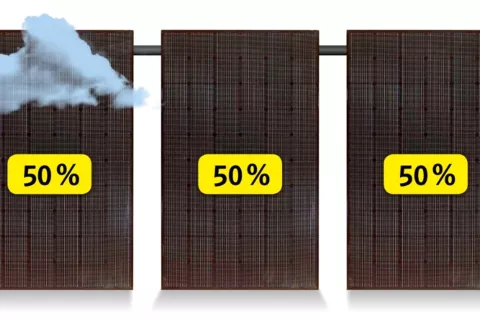
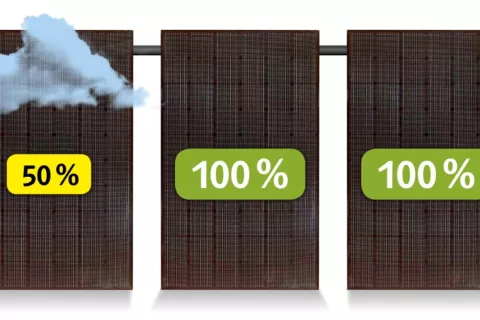
The main difference between photovoltaics with optimizers and a solution without optimizers is that if the performance of one panel is reduced, for example due to fallen leaves or snow, with optimizers, the remaining panels work at 100%. In a photovoltaic power plant without power optimizers, not only the power of the shaded panel will decrease, but also the power of the other panels in this string (roof side).
Performance of panels without optimizers
Performance of panels with optimizers
Inverter
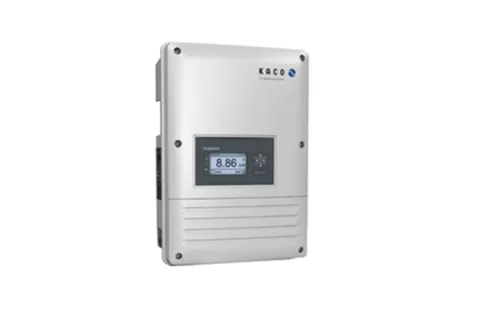
The main function of an inverter in the photovoltaic system is to change direct current into alternating current, which can then be used for household needs. Every inverter has a digital menu display where you can control actual electricity production with all necessary data. Many manufactures also provide monitoring software together with the inverter. This monitoring is then available in a mobile or computer application, where all photovoltaic panels and their individual performance are graphically represented. The application automatically sends notifications to the customer and provides practical information about the weather or positive effects of the photovoltaic power plant on the environment.
Solar panel mounting system
But other components are also important, for instance the solar mounting hardware. The installation of photovoltaic panels must meet certain rules. It is critical that the panels are properly attached to the supporting structure. The fixing system used to hold solar PV panels on your roof must be strong enough to support the weight of the panels in all weather conditions, including strong wind. They also need to be able to withstand a wide range of temperatures and to be installed in a waterproof manner. The type of fixing system used will depend on whether the solar PV panels are going to be:
- retrofitted onto an existing roof
- roof integrated – used instead of tiles or other roofing materials
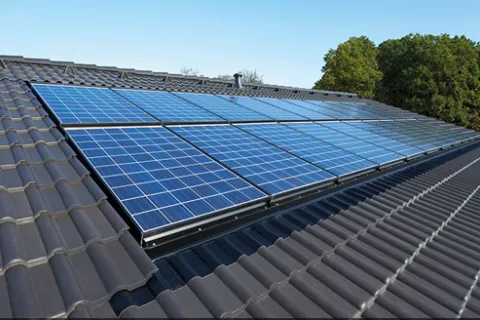
IKO Cambridge Xpress 52 Dual Black and SLATEPLAN solar mounting system from Schletter >>>
1. Retrofitted roof panels
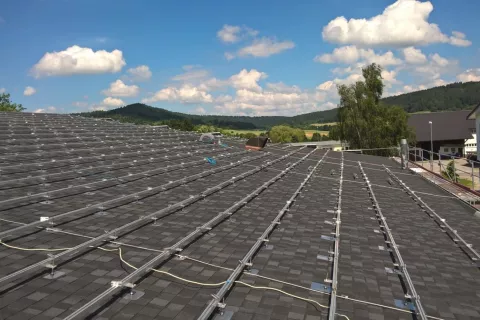
Photovoltaic panels can be retrofitted onto an existing roof, meaning on top of the shingles, tiles, or other roofing materials, using roof anchors (also called roof-hooks or brackets), mounting rails and clamps. Mounting rails are usually made of aluminum (due to its lightness) and other components are made of aluminum or stainless steel. The mounting rails are fixed to the roof anchors using a locking system and the panels are then fixed to the mounting rails using clamps. Most makes of solar panel have their own clamping system.
All roof penetrations (whether for solar PV modules, cables, or bracketry) must be durably sealed using purpose-made products capable of accommodating the movement and temperatures to which they may be subjected. In all circumstances the roof weather tightness must be maintained. Holes drilled through roof shingles and underlayment, or any other roofing sealed with mastic or silicone sealant are not considered durable. Purpose-made PV accessories and flashings for the routing of cables from a solar PV module are examples of durable solutions.
Fixing the aluminum rail profiles on a shingle roof only with long crews and rubber/EPDM gaskets is definitely not enough. Over time, there is the risk of leakage due to roof structure movement caused by the temperature differences. Only original PV fixing accessories exactly designed for this purpose are allowed to be used. Some well-known manufactures can offer such PV brackets and all necessary systems.
2. Roof-integrated panels
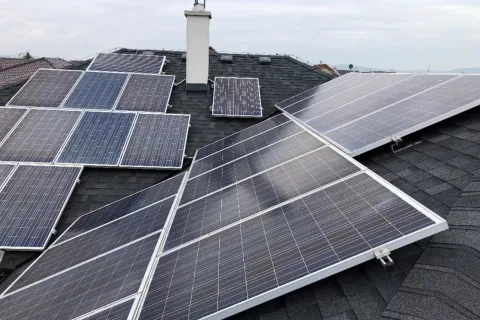
On new buildings or when a house is being reroofed, you may prefer a roof-integrated solar PV system. The type of roof fixing will depend on your choice of solar PV system. Roof-integrated panels can be supported on frames fixed directly to the rafters and integrated into the rest of the roof using a flashing kit to keep the roof waterproof.
Operation of photovoltaic power plant
The solar PV plant works properly if all individual parts (being photovoltaic panels, optimizers, inverter, fuse elements and possibly a smart meter) are connected. That’s why it is important that an installation of the photovoltaic power plant is provided by a professional company and by installers with sufficient experience. In this case, you will avoid possible malfunctions of the device in the future.
REMEMBER: A shingle roof is certainly suitable for this investment but don’t underestimate the importance of a correct installation!
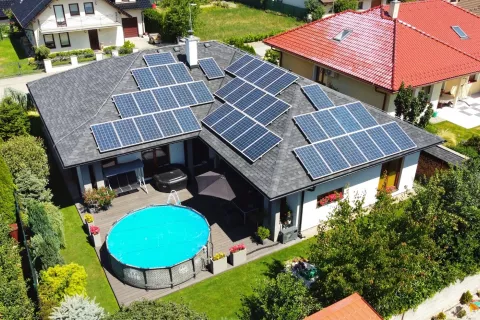
<<< IKO Cambridge Xpress 52 Dual Black and 10 kW photovoltaic power plant on a roof
