
Search
Search
1438 results were found.
How to choose the right solar mounting set for your shingle roof?
Choosing the right solar mounting set on your IKO shingle roof is very important. Installing the IKO solar panels mounting set in the correct manner will prevent any water from entering your roof structure.
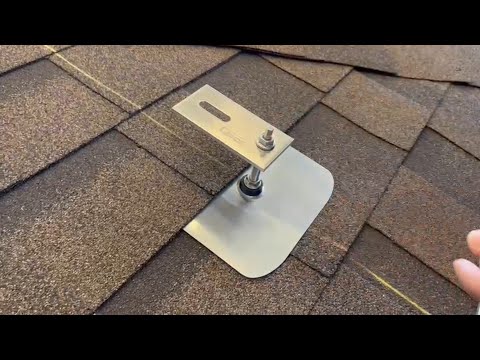
Detailed drawing of the IKO Solar Mounting Set
- Hanger Bolt (200 or 250 mm)
- Adapter
- Metal flashing plate in between 2 shingle rows, secured with mastic under the flashing
- Underlayment
- OSB Deck
- Counter Batten
- Breathable membrane
- Rafter

Application instructions

Solar Panels Mounting Set
This simple but reliable solar panels mounting set exists of:
- Metal flashing plate
- Hanger bolt M10 available in two lengths: 200 mm and 250 mm
- Adapter
and is created with premium materials (stainless steel and EPDM).

Application instructions:
Ensure that the membrane is evenly distributed across the roof surface to prevent unevenness on the shingle surface. Install it parallel to the eaves.
Roof slopes from 9,5°to 20°
- Option 1:
We recommend covering the entire roof surface with IKO Armourbase STICK fully adhered membrane. Use overlaps: 15 cm vertically and 10 cm horizontally. - Option 2:
Use one of the IKO membranes (ECO, or PRO) to provide additional protection for your roof. Cut a 50 cm wide starter strip and lay subsequent layers, securing them with horizontal overlaps every 50 cm and end overlaps every 30 cm.
Slope from 21° to 85°
The entire roof surface should be covered with IKO Armourbase underlay or an approved shingle underlay. The underlay should be laid parallel to the eaves with a minimum 10 cm horizontal overlap and 15 cm end overlaps. All IKO Armourbase underlay rolls have 10 cm lines to facilitate installation. Fasten the underlay with only as many nails as are necessary to hold it in place.
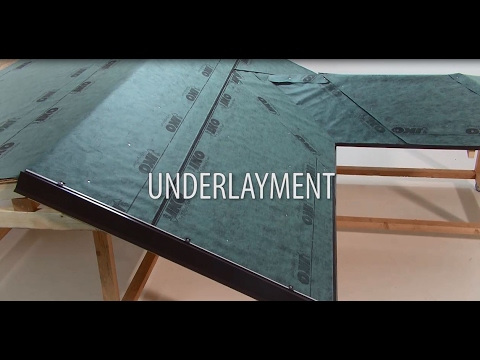
IKO offers various types of underlays, each designed to increase your roof’s resistance to water.
The use of an underlay is always recommended on roofs covered with asphalt shingles, regardless of the roof slope.
The requirements that the underlay must meet are:
- Protection of the wooden roof structure from adverse weather conditions before and during the installation of shingles.
- Providing additional protection against water penetration during the melting of ice accumulated on the roof surface, or during heavy rain with strong wind gusts that may drive rain under the shingles.
- Ensuring protection during a storm that has damaged the roof surface, e.g., by hail.
- Improving fire resistance ratings in accordance with local regulations for shingle-covered roofs.

Wondering which IKO underlayment is best for your roof?
Order samples here so you can compare them yourself!