Search
Search
1419 results were found.
The summer is that time of year where we are faced with lots of storms, often accompanied with impressive lightning spectacles. Even though it is a majestic natural wonder, it can often cause troubles. Protecting your home against an impressive lightning strike could save your life, the lives of your beloved ones, your home, its contents and all the electrical components. A home lightning protection can only have advantages!
Unfortunately you cannot prevent a flash of lightning striking on your home. But what you can do is nullify or reduce the ruinous effects of a lightning strike by having a professionally installed lightning protection system in your home.
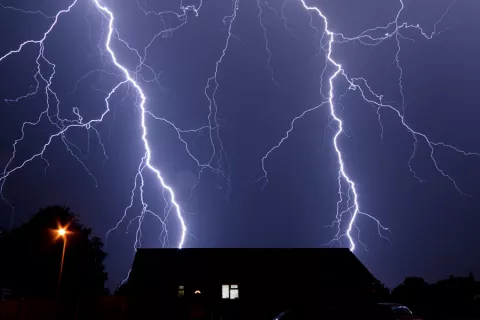
Lightning protection explained
The task a lightning protection system performs is very simple. It provides a path, created by specialists, on which a lightning strike can travel. If your home is armed with a lightning protection system, the damaging power of this lightning strike will be directed safely into the ground. This leaves your home, family members and personal belongings unharmed.
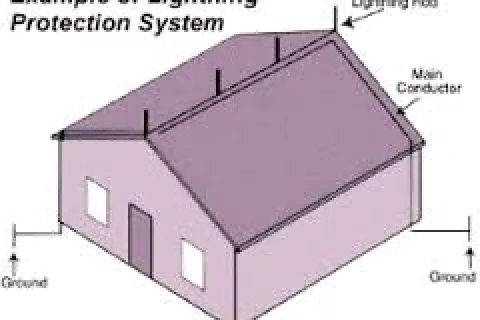
The lightning protection system consists of air terminals (rods), a conductor (cable), bonding with metallic bodies and ground electrodes (counterpoise cable or ground rods) designed to protect the building structure and its occupants.
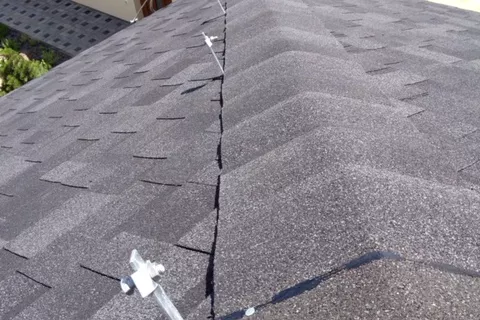
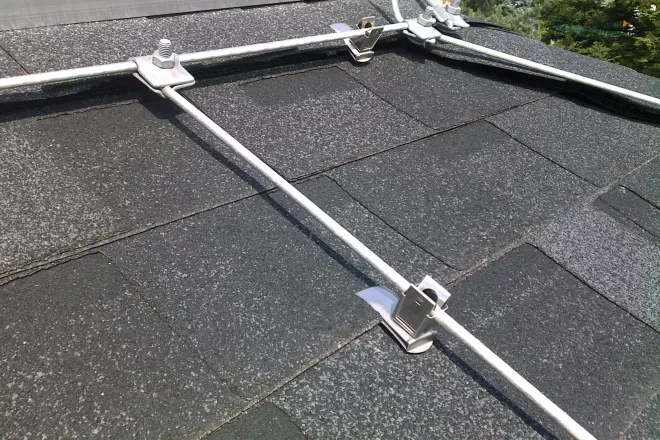
Conductor support for a shingle roof
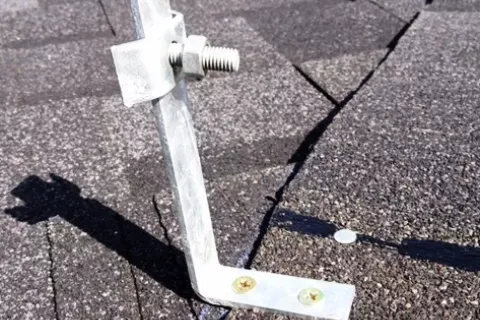
Conductor support for a shingle roof
Specialised installation
A correctly installed lightning protection system not only gives you and your family some peace of mind during storms, it also boosts the value of your home. For the best preservation of your home, it is important that the lightning protection system is installed by skilled, qualified lightning protection specialists. For quality assurance all materials and methods should comply with local building code regulations.
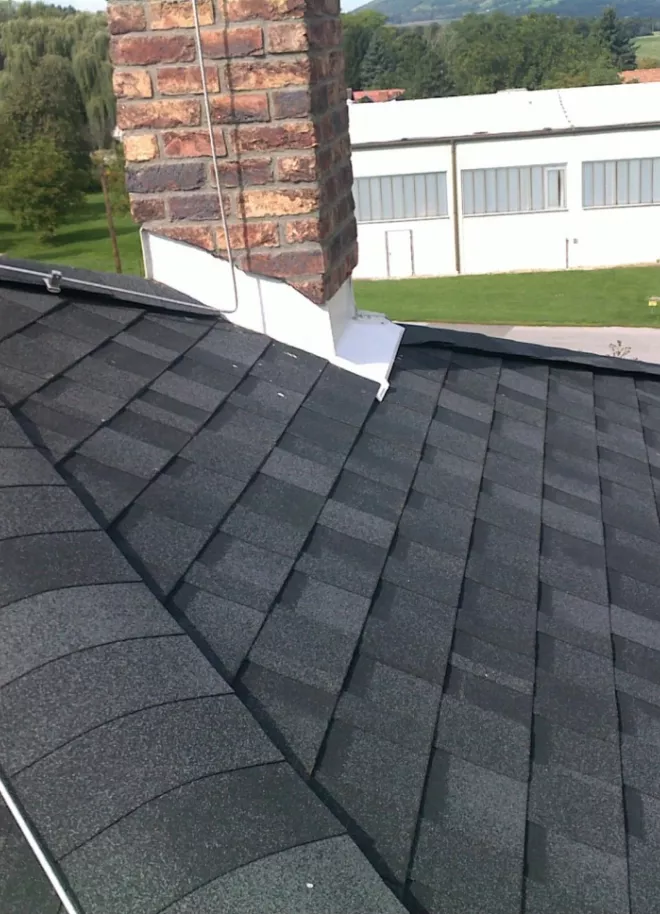
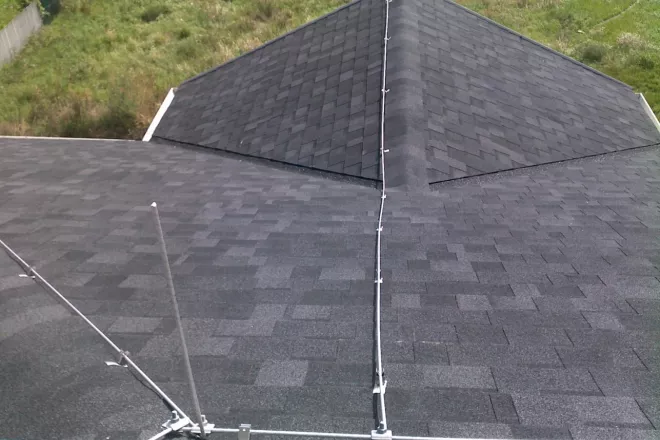
A lightning protection system installed on an IKO Cambridge Xpress 52 shingles roof
Be aware: Today many insurance companies will not insure your house without a functional lightning protection system. Installing lightning protection is something definitely worth considering!
Spring has dominated the past few weeks and summer is in sight; colors everywhere, days are almost at their longest.. For the past few months, your shingles roof has weathered cold temperatures, thick snow, freezing winds, and lots of melting. The winter season is very tough for every roof, so spring is a perfect time to check for any problems that may have developed over the last few months and do some roof maintenance.
Follow our spring / summer roofing checklist to ensure that your roof is in perfect condition.

Exterior roof check
Many roofing problems can be detected from the outside. Do you detect one or more of the following problems? Be sure to take care of these issues as soon as possible!
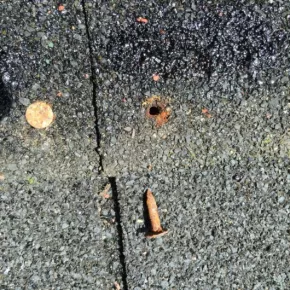
- Loose or exposed nails
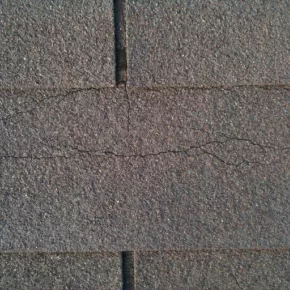
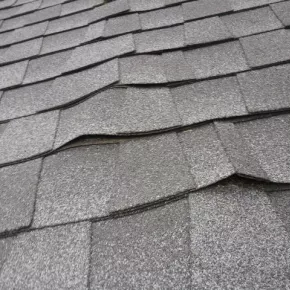
>>> cover these exposed nails with IKO Shingle Stick, then sprinkle some granules on top. - Shingles that are cracked, curled or buckled up
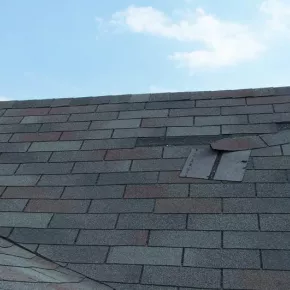
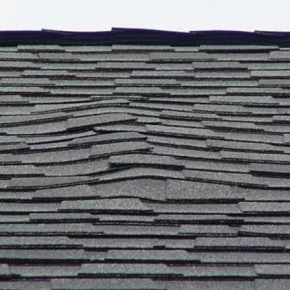
>>> check if the ventilation is working properly and change the affected shingles. If there are too much damaged shingles, you have to start thinking about a new roof. Ventilation is essential for the longevity of your roof. - Loose or missing shingles
>>> repair and install the missing roof shingles. Check out IKO's roof shingles range. - Loose roof shingles at hips or ridge lines
>>> repair and install the missing shingles at the hips and ridges.
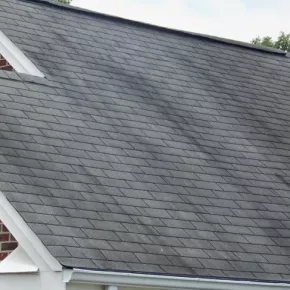
Check out how to cover your roof with hips and ridges. - Algae stains or moss
>>> apply a high quality anti-moss liquid on your shingle roof. - Shingles with missing granules
>>> use IKO Shingle Stick and some granules on the affected parts or replace with full shingles. - Sagging or bulging
>>> call a professional roofer or carpenter to brace the affected part. Probably you will have to renovate the deck and/or roof. - Cracked or missing caulk on flashing
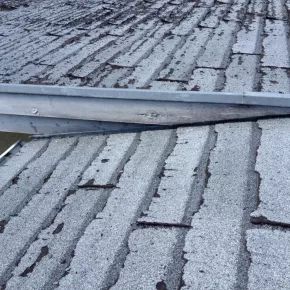
>>> re-caulk all problematic spots with IKO Shingle Stick. - Flashing that is damaged or missing
>>> install a new metal flashing. Don’t forget your counter flashing. - Rusted metal flashing
>>> treat the affected spot and paint or replace the metal flashing completely. - Dry rot
>>> start to think about a complete renovation. Call a professional roofer for inspection of your roof and a quotation.
IKO recommends in this case the perfect solution for your renovation project: Cambridge Xtreme 9,5°. - Broken seals
>>> re-caulk broken spots with IKO Shingle Stick - Cracks in the chimney
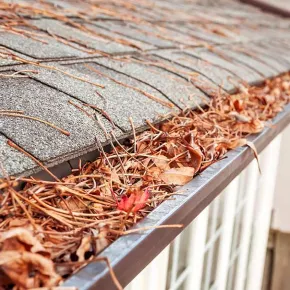
>>> check the flashing around the chimney, re-caulk them if necessary with IKO Shingle Stick. - Damaged gutters or downspouts
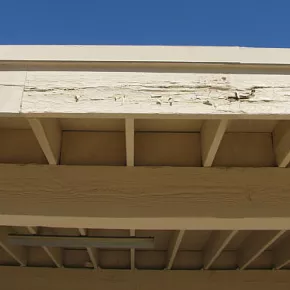
>>> repair or change the damaged parts with new gutters and/or downspouts. - Rotted or damaged fascia board
>>> try to repair the wooden fascia or change them for new ones.

