Search
Search
1419 results were found.
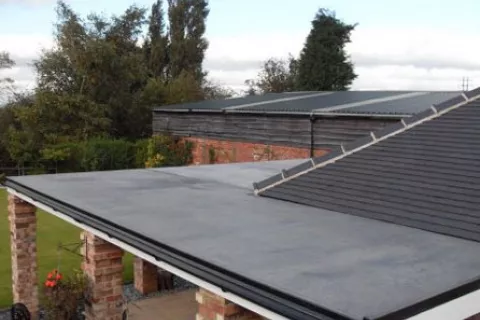
How to create a low slope attached roof?
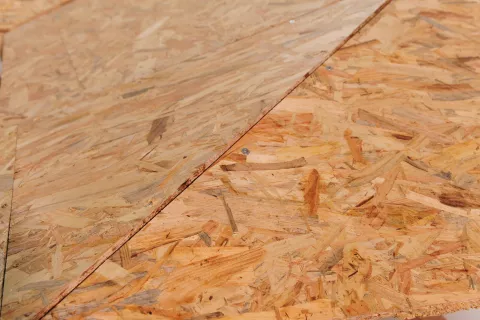
Install dry planks or OSB boards on the wooden frame. Keep in mind that on low roof slopes snow will hold longer, so it is advisable to use more massive material which will be able to hold the increased weight, eg. OSB boards of at least 22mm thickness.
When using planks, make sure they are not only dry, but they also don‘t twist after installation on the roof. Ensure the right slope and drainage of water in every part of the roof. Avoid situations where planks of different thicknesses form a depression in the roof that could hold water and cause leakage!
Underlayments for torch-on application
After installation of the roof deck, install the gutter hooks and cover the gutter edge with a metal flashing. Install horizontally by unrolling the IKO Base underlayment (= new name for IKO Armourfix) at the gutter edge and nail it with nails into the decking from 20 – 40cm to each direction. The next row of underlayment should be unrolled above the first row with at least 10 cm of overlap and again nailed every 20 – 40 cm. Continue until you reach 40 cm above the joint of the low and sloping roof.
Question: Is it necessary to use the IKO base or can any asphalt underlayment can be used?
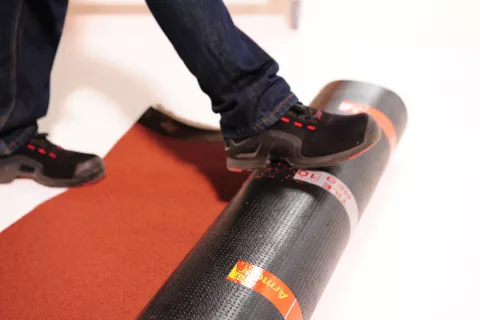
IKO Base is an APP modified asphalt roll that serves as an underlayment under the upper asphalt roll IKO Armourvalley and is compatible with it. This means that it has the same attributes and "works" as IKO Armourvalley. If a different incompatible base roll is used as underlayment, the rolls may be detached from each other. Not using IKO base as underlayment might result in a malfunctioning roof, which might even lead to a reduction of the roofs water resistance.
Top asphalt roll
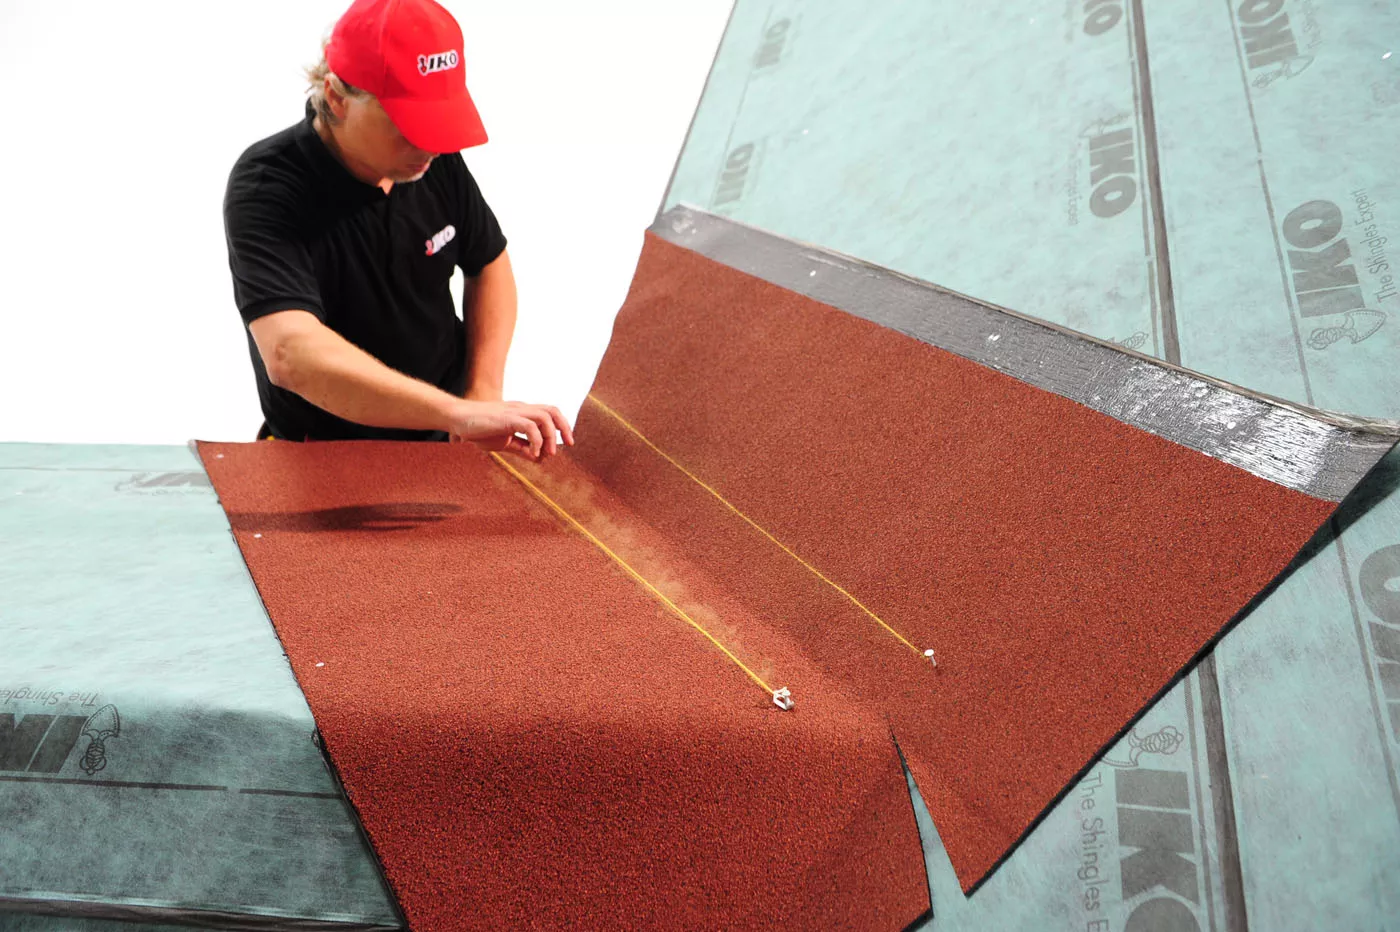
Use the IKO Armourvalley in the same color as your shingles installed on the main, sloped roof. Before torching the rolls, use side metal flashing to protect wooden constructions and the deck. Alternatively, use a different wood protection method to protect them from rain or snow.
Fully torch on the top roll on the underlayment IKO Base. Follow the instructions for standard asphalt torching. The joints of the upper roll must not line up with the joints of the underlayment. The layer overlays must be min. 10 cm. The top rolls must be torched all over the roof of the extension and must extend to the main roof with a steeper slope, up to approx. 40 cm above the slopes joint.The top row of the Armourvalley must be always covered or slide under the first row of shingles on the main roof.
Question: Is it necessary to use IKO Armourvalley as the top roll or any asphalt roll can be used?
IKO Armourvalley is a high-end asphalt roll offering several benefits that most other rolls do not offer. The asphalt in IKO Armourvalley is APP modified. It means that it can resist both cruel winter conditions and high heat temperatures. In the summer, the roof temperature can be up to 100° C, and even at such a high temperature the asphalt does not tend to soften or run down. This feature is especially necessary for roof slope between 5°-15° or higher, where differently processed asphalt could flow as a result of higher slope. Another advantage of IKO Armourvalley is the wide color range that matches IKO shingle colors. On the roof of the extension you will have the same color as on all other parts of the roof.
Installation of shingles on the steeper slope of the roof
On a steeper slope of the roof we start with a starter strip at approx. 15 cm above the roof slope joint. Then proceed in a standard way to install shingles, as mentioned in the video above.
If you follow these recommandations, you should be able to connect the roof of your extension to your shingles roof in no time. Good luck!
Interested in the product mentioned in this blogpost?
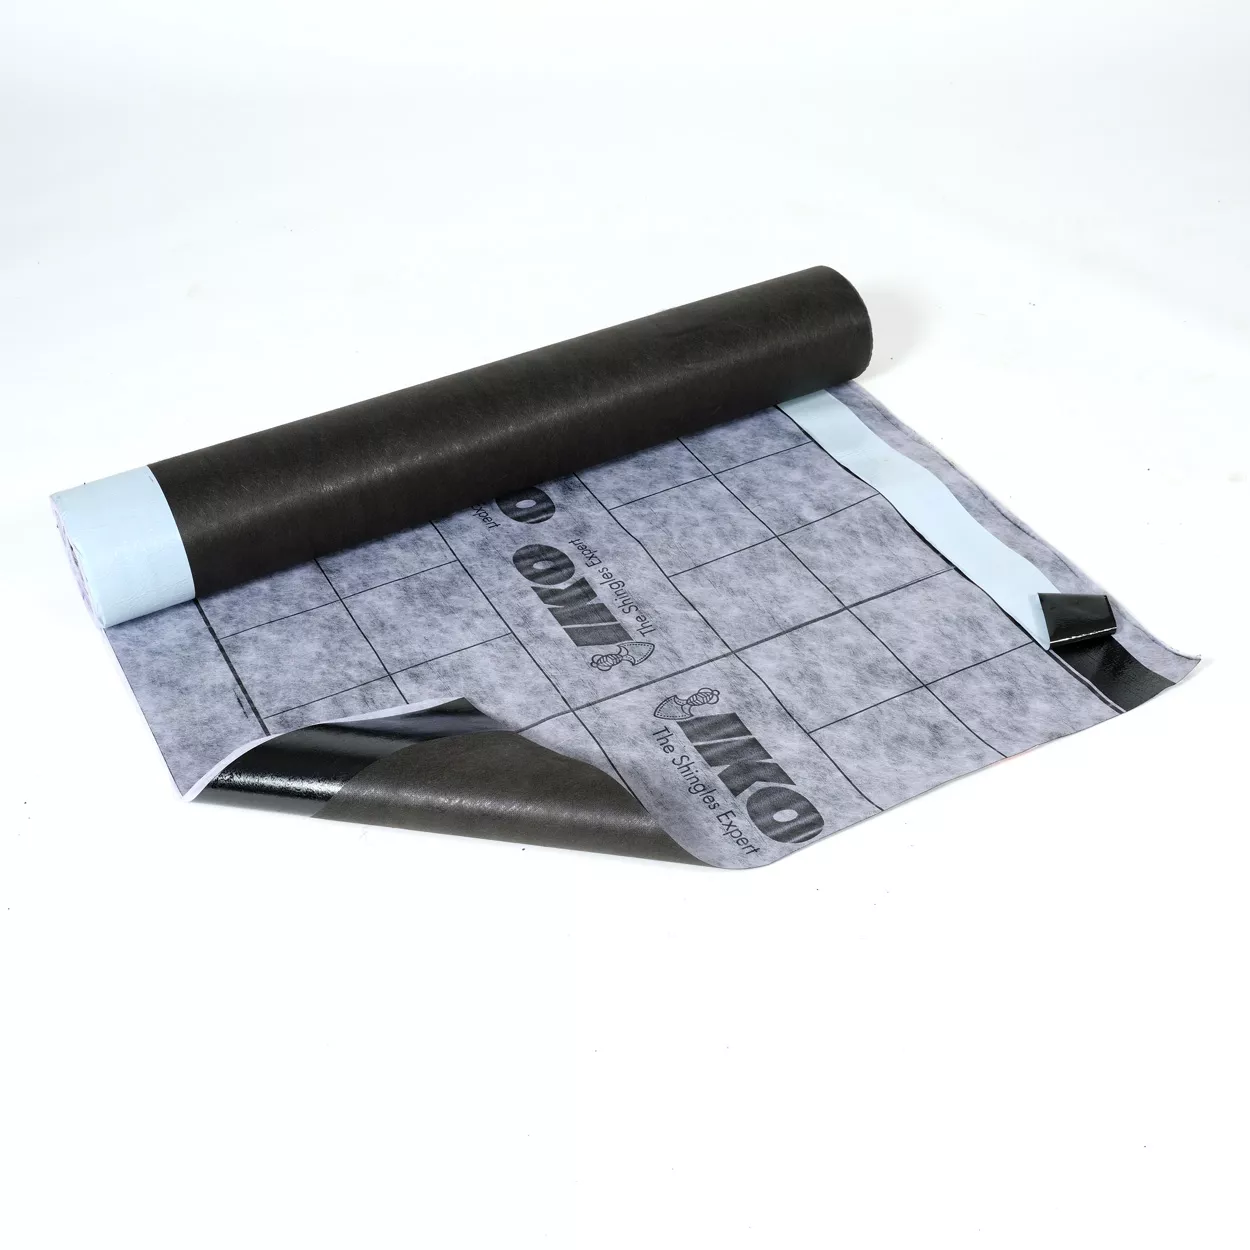
Underlayment: a crucial part of every roof system
Do you agree that the roof is one of the most important parts of your house, especially as it protects you and your family from bad weather conditions? Let's have a look together to the underlayment shingle that IKO offers.
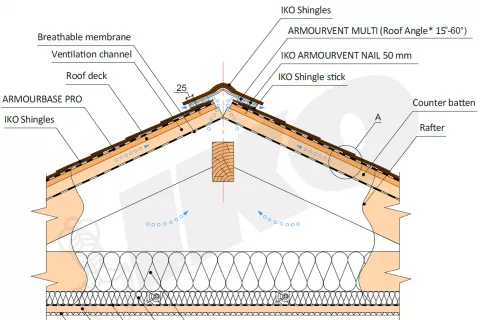
Take a look at the structure of a correctly installed shingle roof offering protection against all types of weather.
Shingles are not the only part offering protection, everything beneath them does as well. This invisible part is called the roof system. A key component of this roof system is the underlayment. The underlayment of a roof is a water resistant and waterproof membrane which is installed between the shingles and the wooden deck. As it is an extra layer of protection from severe weather conditions, the installation of an underlayment is mandatory. A shingle roof system without an underlayment is not covered by IKO warranty.
<<< Underlayment as part of the roof system
