Search
Search
1419 results were found.
Application instructions
Easy application (for professional roofers):
- Base is a wooden or concrete underdeck construction with a waterproof IKO underlayment.
- Apply roof shingles with IKO nails.
- You would need +/- 35 pc/m². Valley, hips and ridges are easy to install without purchasing a huge range of extra accessories.
- Use Superglass 3TAB shingles to cover hips and ridges.
Foresee solid inprosulation and also good ventilation for an optimal and long-lasting roof - improving heating and cooling costs.
Eaves, rakes, walls, chimneys, roof windows, etc. require metal flashings.
A shingle for every roof
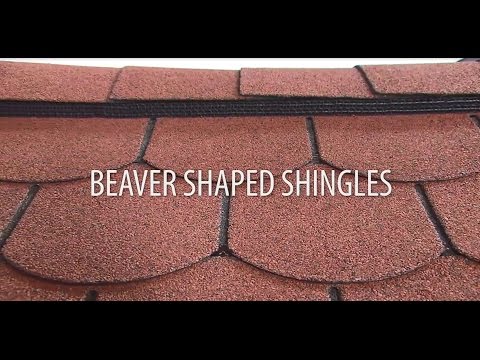
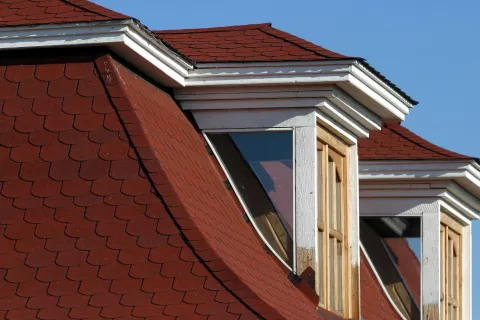
Superglass Biber is an accessible asphalt roof shingle. The rounded shape suits every roof, big or small. Thanks to its economical price, it is just a small but smart investment for any roof you would like to install or nicely renovate. Of course a professional roofer can use Superglass Biber for the roof of your home. With a total warranty of 15 years your roof is definitely guaranteed to live many beautiful years. But Superglass Biber roof shingles also perfectly suit smaller roofs. If you want to install a simple but good-looking roof on your secondary buildings, just go ahead. Superglass Biber will undeniably look great on your new garden house, renovated shed, cosy gazebo, comfortable pool house and many more.
Calculate how many shingles and accessories you need for your next project!
Asphalt shingles with high quality fiberglass
When it comes to installing your roof, protection is an important issue. However Superglass Biber is a roof shingle with a budget-friendly value, it still offers a high quality, which equals a good protection for your roof. Thanks to its fiberglass inlay, Superglass Biber easily meets the EN norms. This fiberglass inlay offers a durable and solid roof shingle, which will resist all types of harsh weather conditions. While shingles with an organic felt inlay (which we don’t have in our IKO Shingles range) absorb humidity, our fiberglass based IKO roof shingles are the best waterproof option for your roof.
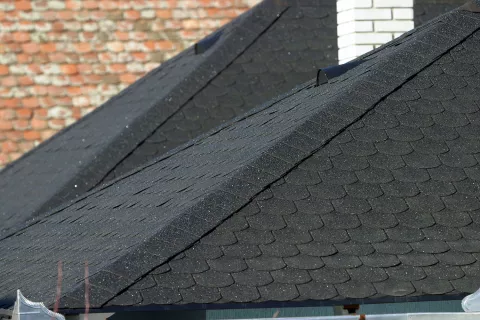
If you rather prefer a rectangular look on your charming summer cottage or modern carport, take a look at our Superglass asphalt roof shingle. Offering the same quality at the same economical price, it is a great alternative.
Your advantage with this Superglass Biber roof shingle:
- Top quality fibreglass high grade bitumen 3TAB shingles
- The most time-tested and widely used shingles
- Exceptional value for money
- Highly resistant to colour fading
Application instructions
Easy application (for professional roofers):
- Base is a wooden or concrete underdeck construction with a waterproof IKO underlayment.
- Apply roof shingles with IKO nails.
- You would need +/- 35 pc/m². Valley, hips and ridges are easy to install without purchasing a huge range of extra accessories.
- Use Superglass 3TAB shingles to cover hips and ridges.
Foresee solid insulation and also good ventilation for an optimal and long-lasting roof - improving heating and cooling costs.
Eaves, rakes, walls, chimneys, roof windows, etc. require metal flashings.

Excellent choice for value conscious homeowners
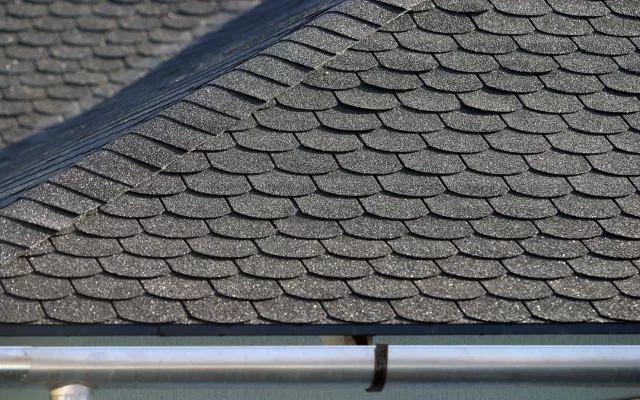
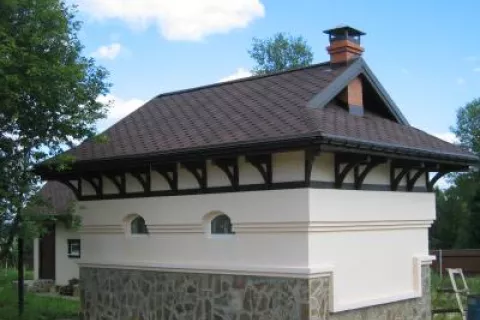
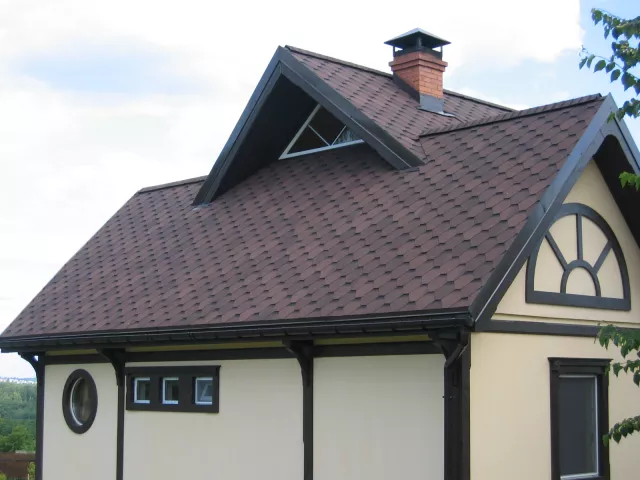
Don’t let the economical sharp price fool you; IKO Superglass Hex is a secure roofing material for your building project. You can use it to cover your valuable home, but also smaller projects like that new garden house, a renovation of your garden shed and many others. Just like all IKO Shingles, this hexagonal Superglass Hex roof shingle is conform the ETA (European Technical Assessment), which proofs the high quality of this roof shingle. The Superglass range is not only accessible in matters of value, but also when it comes to application. It is the ideal “first contact” shingle, making it a great option for both experienced roofers and skillful DIY enthusiasts.
Calculate how many shingles and accessories you need for your next project!
IKO Superglass Hex suits every roof
The hexagonal shape of the Superglass Hex roof suits every roof, big or small. Thanks to its self-adhesive characteristic, you can use it on slopes starting from 15° until 90°. This means you can even use it on vertical walls. This will give your new garden house, renovated shed, cosy gazebo or convenient pool house the unique look it deserves. The Superglass Hex is available in black, green, brown and red. To ensure you that you can create the unique look and feel you want, these last 3 colours are available with and without the shadowband.
