How to install shingles on walls
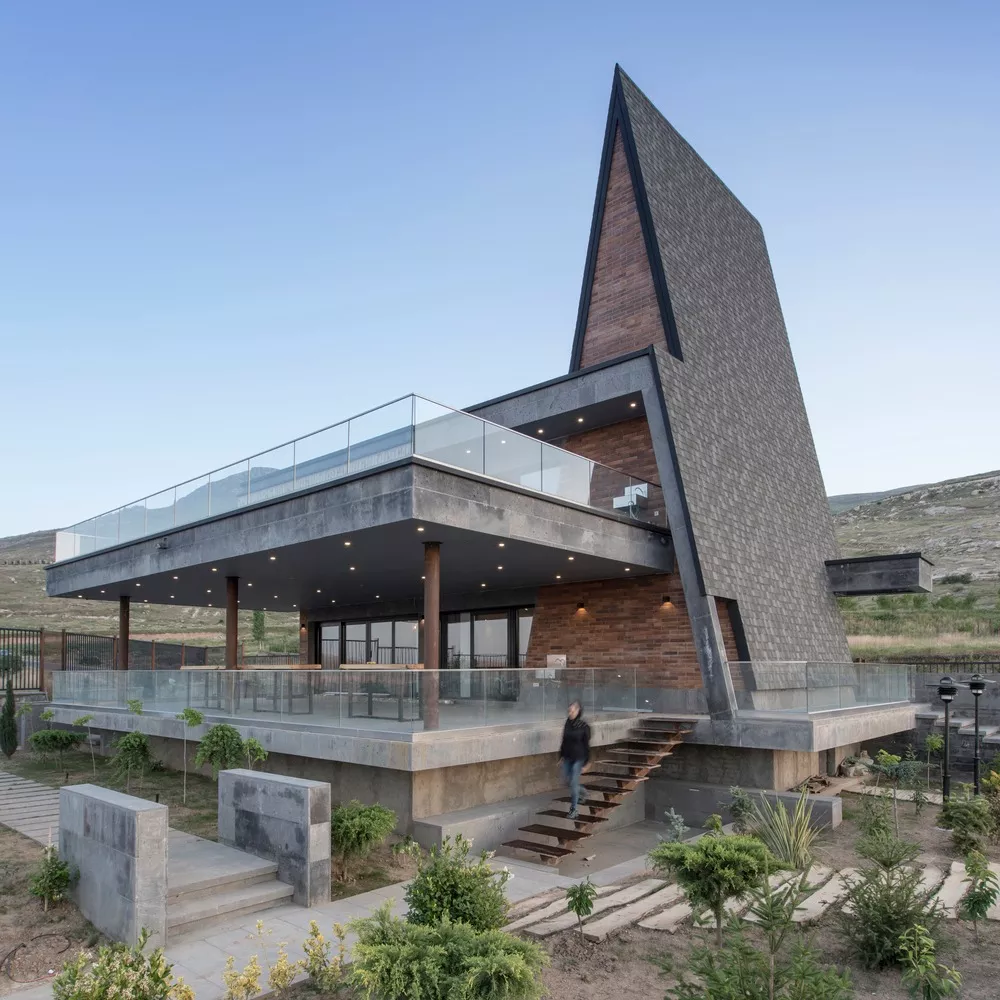
Are you in need of a stylish, weather-resistant finish for facades? Shingles are the way to go!
Shingled walls have slowly been gaining popularity across Europe for aesthetic and practical reasons. Let’s walk you through everything you need to know about installing shingles on walls, including proper ventilation, usage of starter strips, and necessary metalwork.
Why shingle a wall?
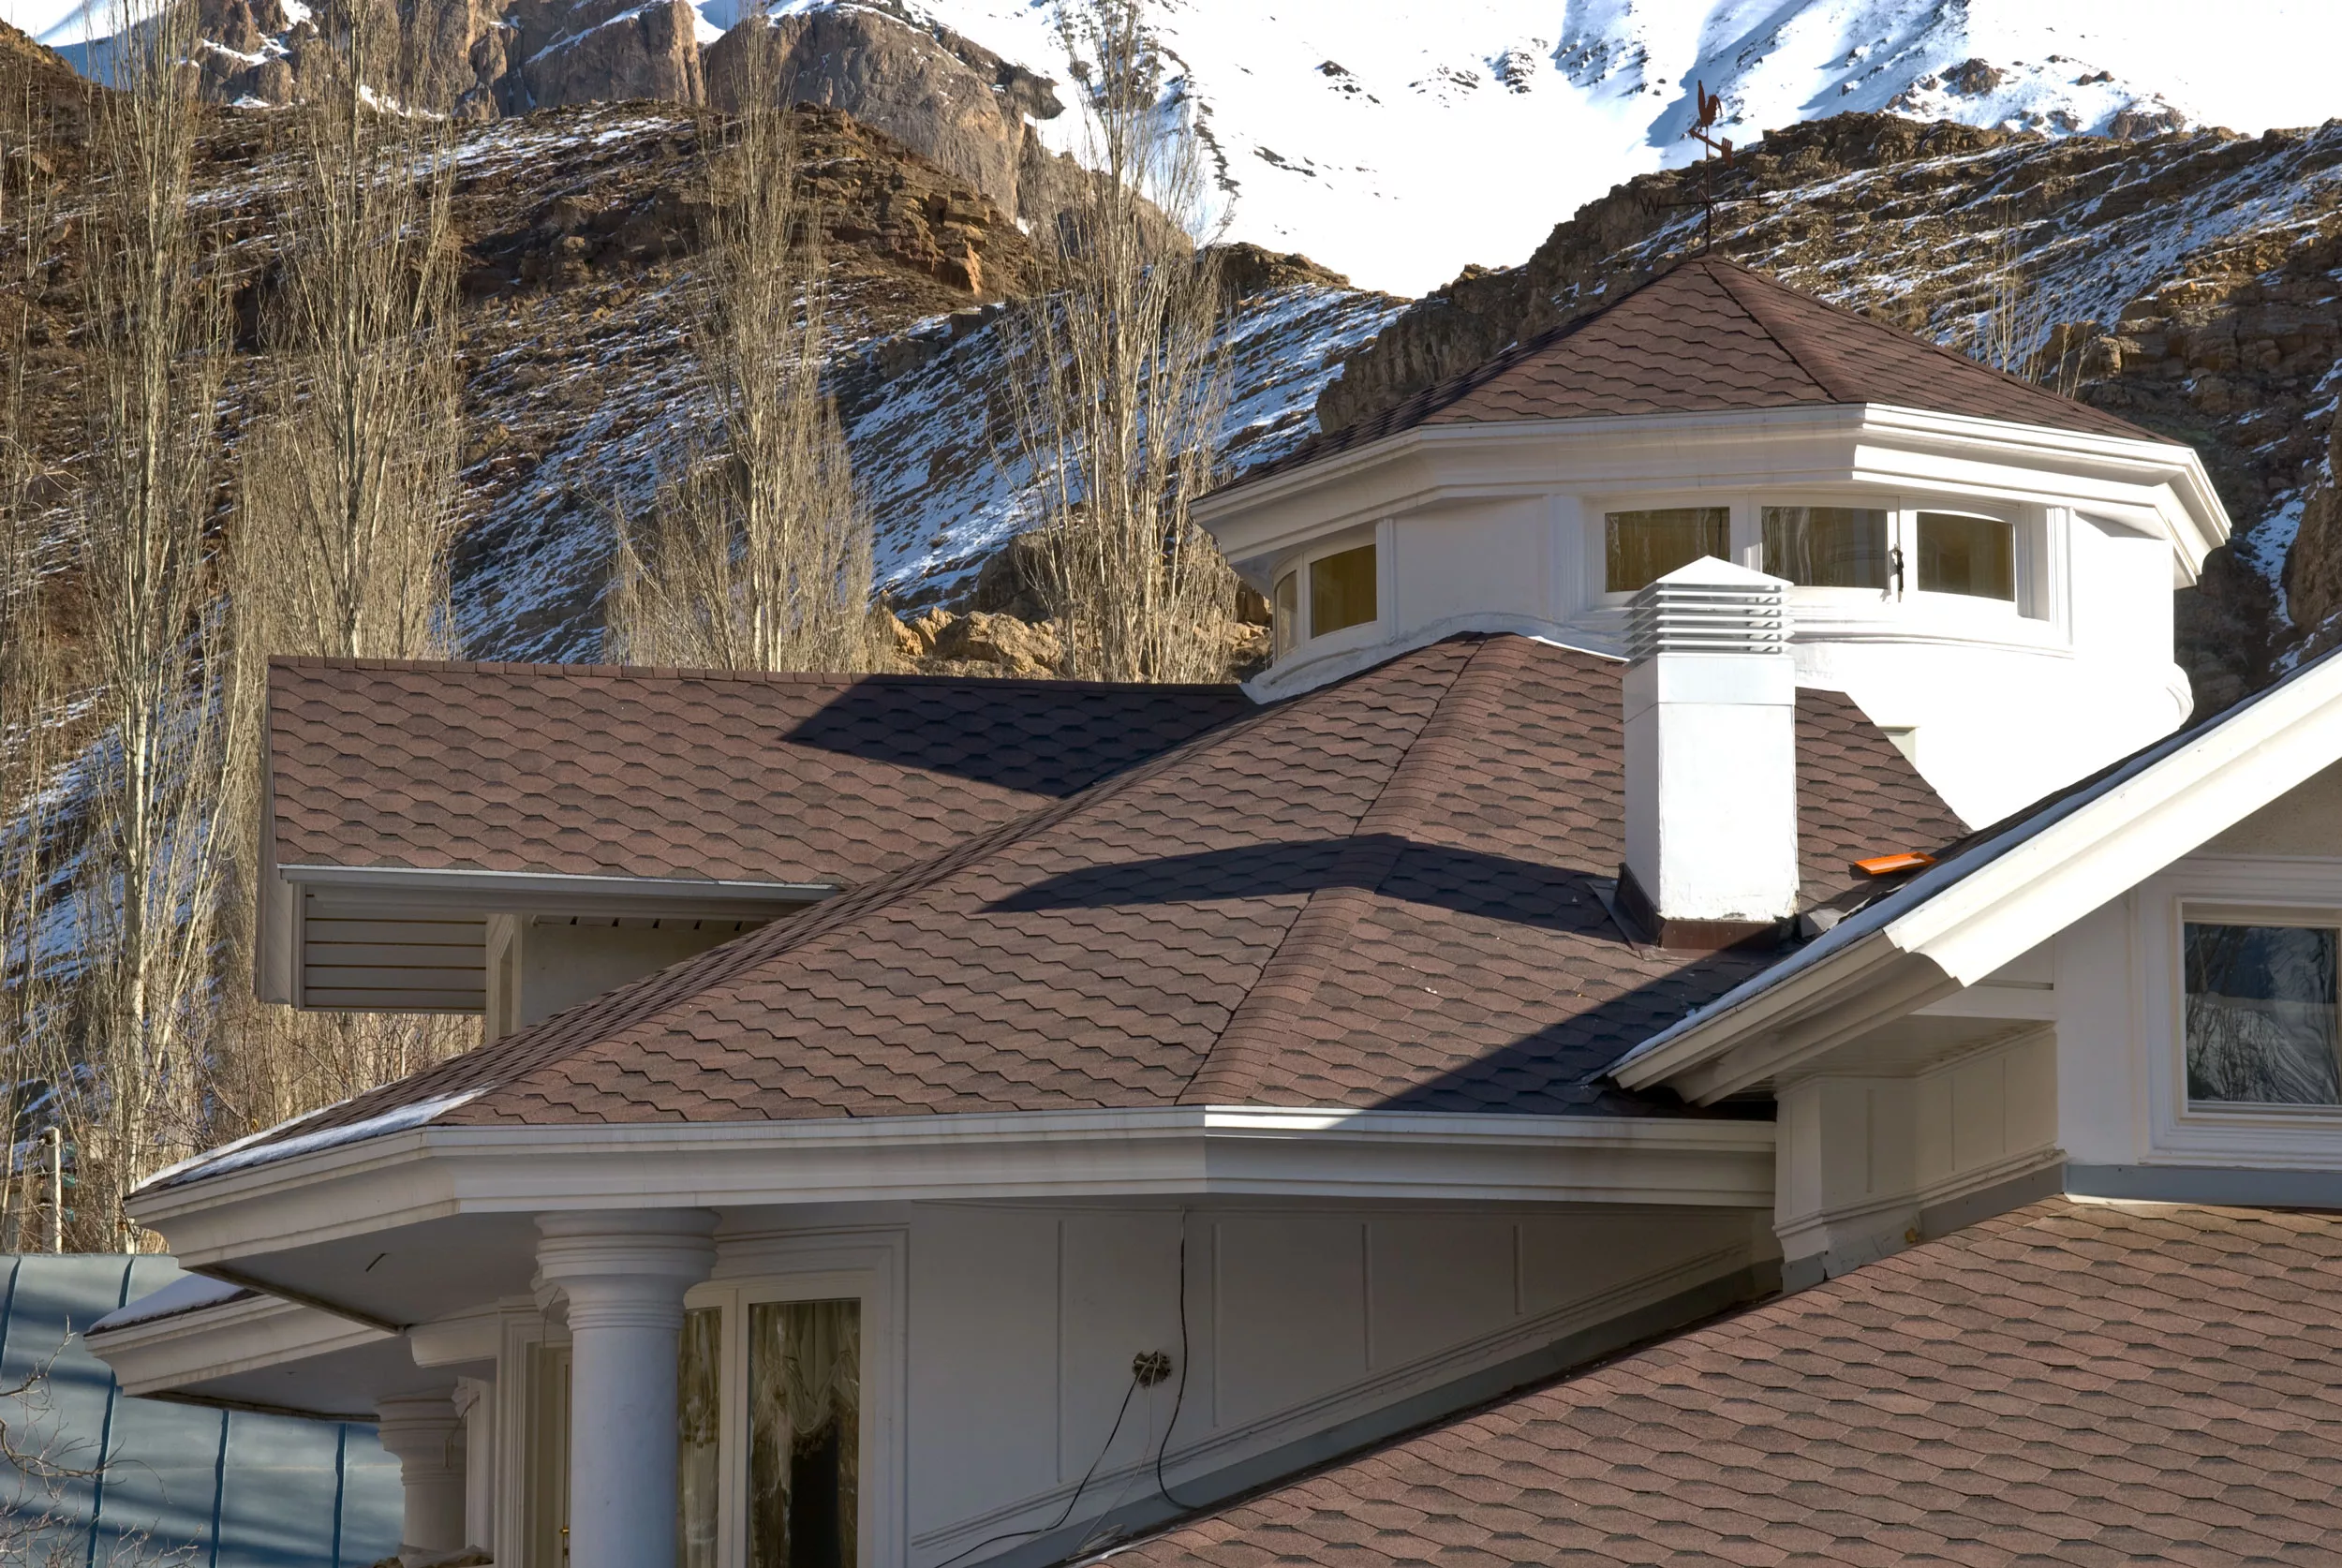
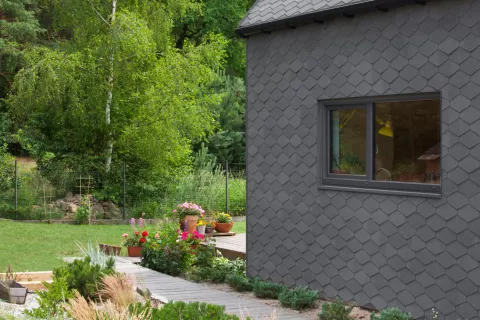
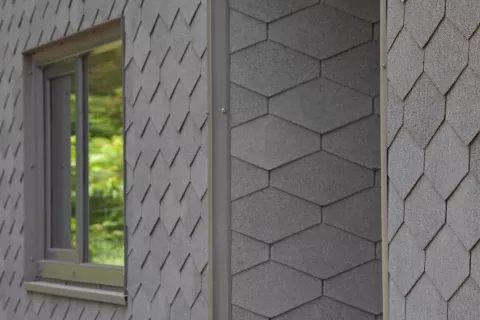
One of the most important reasons is the aesthetically pleasing look. IKO offers 3 different shingle shapes suitable for wall application, being Cambridge Xtreme 9,5°, ArmourShield PLUS and DiamantShield PLUS. Thanks to the self-adhesive character of these shingles, they are suitable for areas up to 90°. These 3 styles are available in different colors, which results in a shingle for every home project.
Shingled facades are not only visually striking—they also:
- Provide extra insulation
- Add protection against rain and wind
- Allow for creative design with color and material combinations
Installing shingles on walls requires a different approach than on roofs, especially in terms of ventilation, fastening, and flashing.
Is ventilation necessary for a shingled façade?
Yes, ventilation is strongly recommended - even on vertical surfaces. Just like with a roof, a ventilated cavity behind the shingles helps:
- Prevents moisture buildup
- Allow the structure to “breathe”
- Extend the lifespan of both the wall and the shingles
The recommended structure for vertical surfaces is:
- Interior wall or sheathing
- Waterproof and breathable membrane (Tyvek, Delta Dorken, etc.)
- Ventilated counter battens (usually vertical, min. 20 mm thick). On these battens OSB or plywood boards should be installed.
- Shingles as the toplayer
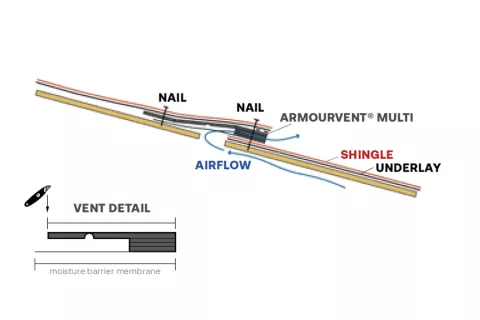
Ventilation will be provided with IKO Armourvent Multi as "off peak application".
Important: A ventilated structure ensures that any moisture or condensation behind the shingles can escape through natural airflow, avoiding rot, mold, or frost damage. Learn more on moisture problems and how to avoid them.
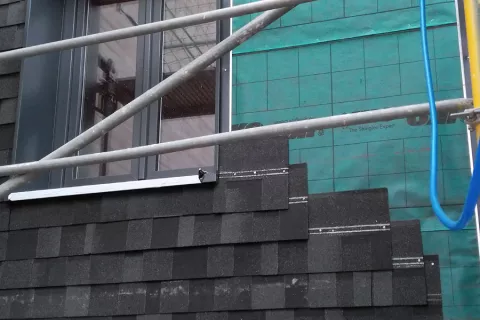
Do you need a starter strip?
Absolutely. A starter strip is essential, even on walls.
Purpose of the starter strip:
- Creates the correct angle for the first row of shingles
- Prevents water from entering behind the first course
- Provides a clean, level base for installation
On a vertical wall, starter strips are even more critical because water can run directly behind poorly installed bottom rows.
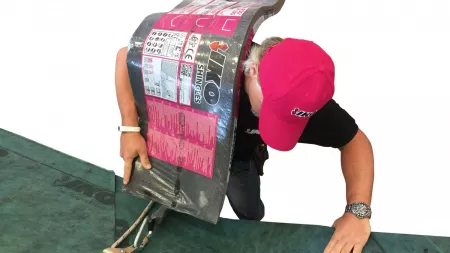
With Cambridge Xtreme 9,5° you can use the IKO Starterstrip.
For the ArmourShield PLUS and DiamantShield PLUS, the shingles can be cut and used as starterstrip.

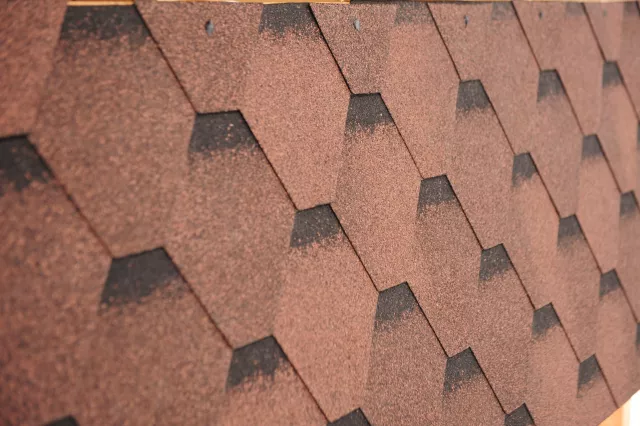
Not sure which colour or shape will suit your wall best?
Request up to 3 A4-samples to see how the colors match your project.
What sheet metal work do you need?
Sheet metal plays a crucial role in the weatherproofing of a shingled façade.
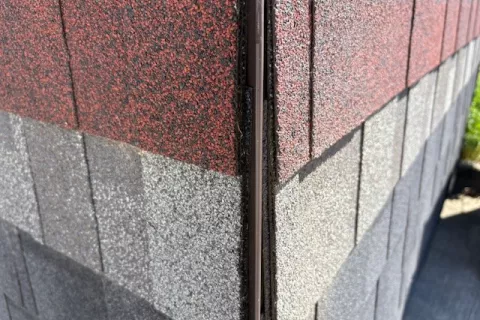
These are the key areas to flash:
- Bottom of the wall (drip edge)
- Corners (inside and outside corners)
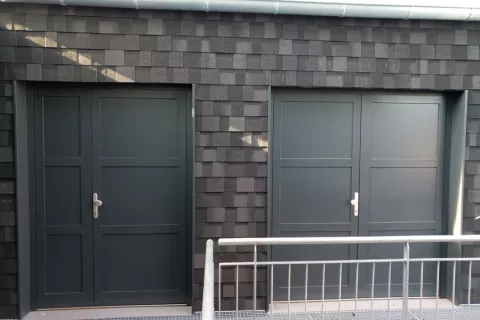
- Windows and doors (head and sill flashing)
- Top of the wall (termination flashing or counter flashing under eaves)
- Roof-to-wall transitions
We recommend using aluminium, zinc, or coated steel flashing as they are durable, corrosion-resistant materials that integrate well with shingles.
All flashing should be installed with attention to overlap and water direction to ensure long-term watertightness.
Installation tips: from structure to finish
Let this step-by-step overview guide you to a successful wall installation:
- Inspect and prepare the base: The wall must be flat and structurally sound.
- Install a weather-resistant barrier: Choose a breathable membrane.
- Add vertical counter battens for ventilation.
- Install horizontal battens at the correct spacing (depends on shingle type and size).
- Install the starter strip securely and level.
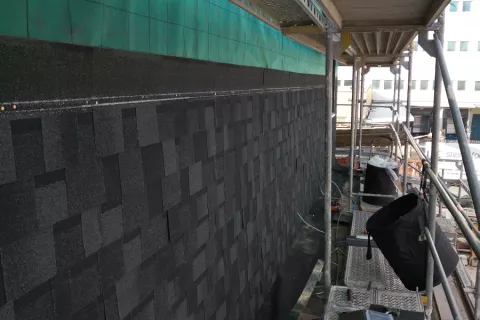
- Begin shingling from the bottom: Stagger joints, maintain consistent exposure.
- Nail according to manufacturer specs: Use rust-resistant nails, typically stainless steel or hot-dip galvanized.
- Flash all penetrations and edges with precision.
- Finish with a top flashing to protect the upper edge.
Important!
- Use only facade-approved shingles
- Always install shingles according to the installation guide
- Be mindful of building codes and fire regulations
Our conclusion:
Installing shingles on walls can add character and protection to any building. While the process is similar to roofing, details like ventilation, starter strips, and sheet metal work are even more important when working vertically.

